When I started wargaming, over 50 years ago, there was no commercially available model soldier terrain, unlike today, so we had to make our own.
I decided to build a modular system for my natural terrain, fields, rivers, hills, woods and marshes. It has been added to over the years, but essentially has remained the same.
Open Fields, Streams and Rivers
The base level is one foot square terrain boards. These are constructed of 3mm hardboard sheets with 10mm polystyrene tiles glued to one side of them. The polystyrene tiles have previously been cut out to create river sections. If the poystyrene is stippled, as many such tiles are, then that is the side I would glue (using tile and coving paste) to the smooth side of the hardboard. The river sections are 1″ streams, 3″ rivers (as shown below) and 6″ rivers, in straight sections, bends and transitions from one size waterway to another.
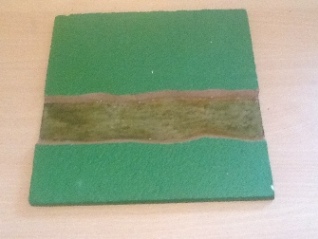
Every terrain board has a stream or river section on the polystyrene side of it. Once complete the boards are painted green, apart from the river banks which are painted a muddy brown, and the floor of the river itself. I paint the river in a swirling mix of blues, greens and browns, then cover it in about six layers of clear varnish, letting each coat dry before the next one is applied. This creates a realistic water effect for the river.

The reverse side of the board is painted green all over, as are the edges. I use polyfilla to fill in any gaps on the edges of the boards and give them a straight edge to butt up to the adjacent ones.
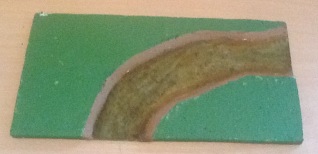
Some of the boards are half sized (12″ x 6″), where the river section would otherwise only cover half of a full sized 12″ square board. These are also useful for more complex river junctions.
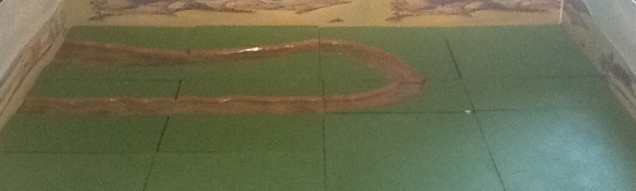
When I want to build a wargame terrain, I start by deciding the layout of any rivers and streams, and place those terrain boards on the table.
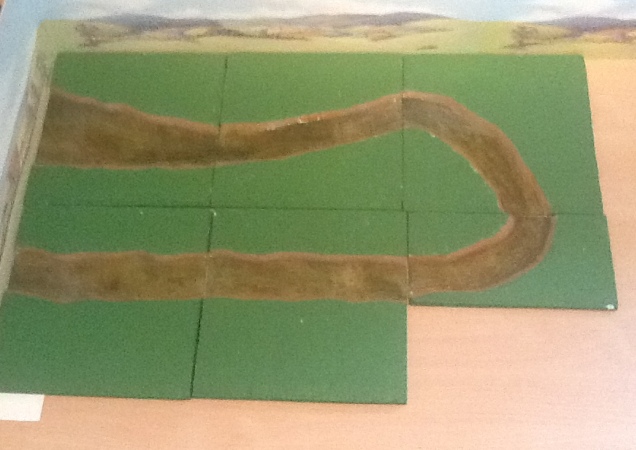
I then turn all of the other boards over to their blank sides and use these to fill in the rest of the table.
I have about 50 sq ft of terrain boards, stored in two plastic storage boxes, taking up considerably less space than modern commercial terrain boards, and much more flexible due to their double sides.
Hills
My hills are based on a modular system, the base of which is 6″ square sections, 40mm high. The base is 2mm cork tiles, built up by layers of 10mm polystyrene tiles. Some sections are completely square, but most are sloped on several sides. The side slope drops from the top to the bottom in a gentle curve.
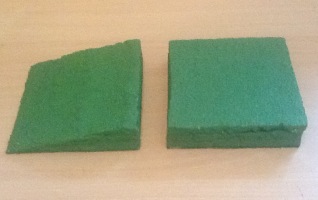
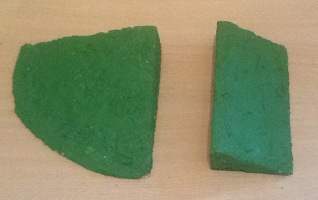
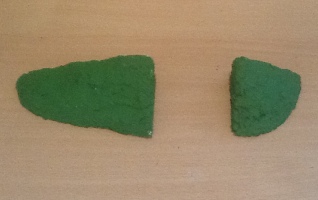
There are also half sized sections, 6″ x 3″ (which create steep slopes), and some tiny corner sections of 3″ x 3″ plus transition sections betweeen full and half size sections.

This system allows a number of natural hill shapes to be created.
I have also created some ravine sections, which could be used for example to create the ravine at the Battle of Falkirk.
The same sections can be used to create a pass through a hill.

If I want to create really large hills, I use stacks of three terrain boards (full or half size), and just use the smaller 6″ square hill sections around the edges of these.
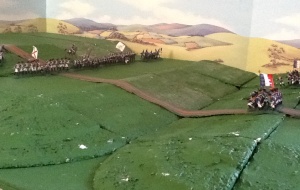
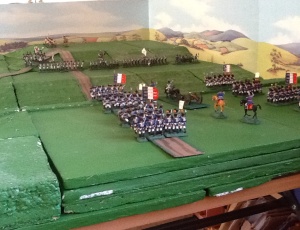
A second layer of hills can be built up on the first if desired, to create rolling countryside, as here at Albuera. I have stood on that hill, approximately where Zayas’s Division stopped the French, and it does look like that.
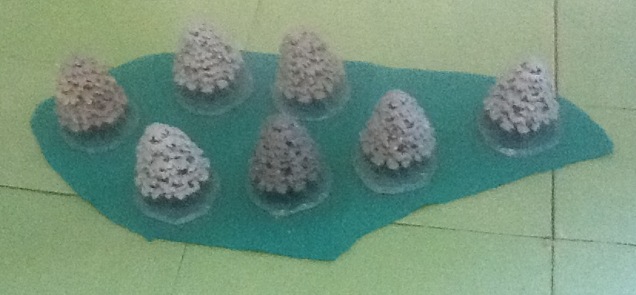
Woods
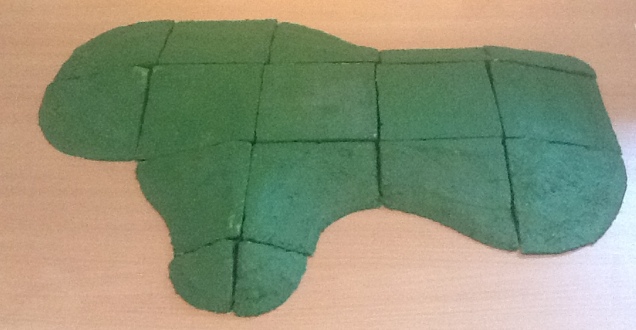
My trees are one of the few commercial items which I bought very early during my wargaming. They are all plastic Merit trees, about half Alder and half Fir with a few Poplar. I have a lot of them, enough to cover a complete wargaming table in a forest, which could be useful for the French and Indian War if I ever get around to it. I made sections of dark green felt to delinate the woods, and painted the tree base to match that. The green felt below is actually 4 different shaped sections, which allow me to make woods of a variety of shapes.
Marshes
I have also created some marsh sections in a variety of sizes. They are card with pools of muddy brown water (which has come out a bit yellow in the photo) with some clumps of weeds (the latter bought commercially).
I have one of the largest ones but several of each of the smaller ones.

